Cross stitch
humbug
tutorial
Tutorial - making a Humbug - Cross Stitch
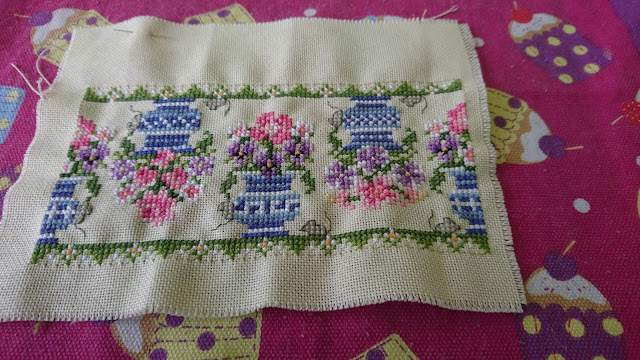
This design is Just Nan's Porch Mouse and at the end you will see the corresponding pin that you can buy to go in the same.
This design is so pretty and intricate. It is also suitable for a humbug.
Obviously you need to stitch the design as detailled.
Trin around the edges. I left about 6 - 8 rows.
Cut off the corners so it makes turning the fabric in easier.
Fold design in half
Tucking in the excess fabric and with design outwards, using the backstitch around the design slip stitch the two sides together.
The above is what it looks like with the excess fabric tucked in.
The above is a photo of the first seam.
Keeping the same as is. Tuck in the top excess fabric and repeat stitching together again using the back stitches as a guideline.
The above shows stitching across the top with excess fabric tucked in.
You will end up with a shape like the above.
Fold so your first seam is facing you.
Turn round so that a full side is facing you.
Stuff lightly but enough to keep shape.
Tuck in the bottom excess fabric.
Using back stitch as a guideline stitch across the bottom edge.
You have just completed a Humbug.
The design I stitched gave 4 different desings one for each side. Here they are:-
Side 1
Side 2
Side 3
Side 4
I hope this has helped you to be able to make a humbug
Happy stitching.


No comments